Level Guide
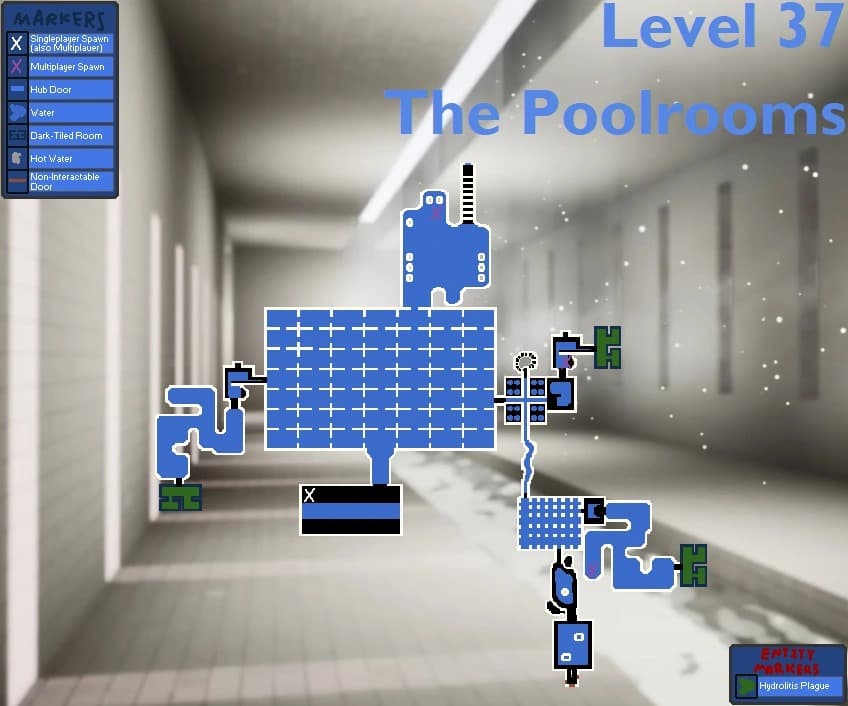
Escape the Backrooms Level 37 The Poolrooms
Escape the Backrooms Level 37 Poolrooms walkthrough: manage Sanity, respect deep-water risks, and use landmarks to find the safe route out.
Read More → Escape the Backrooms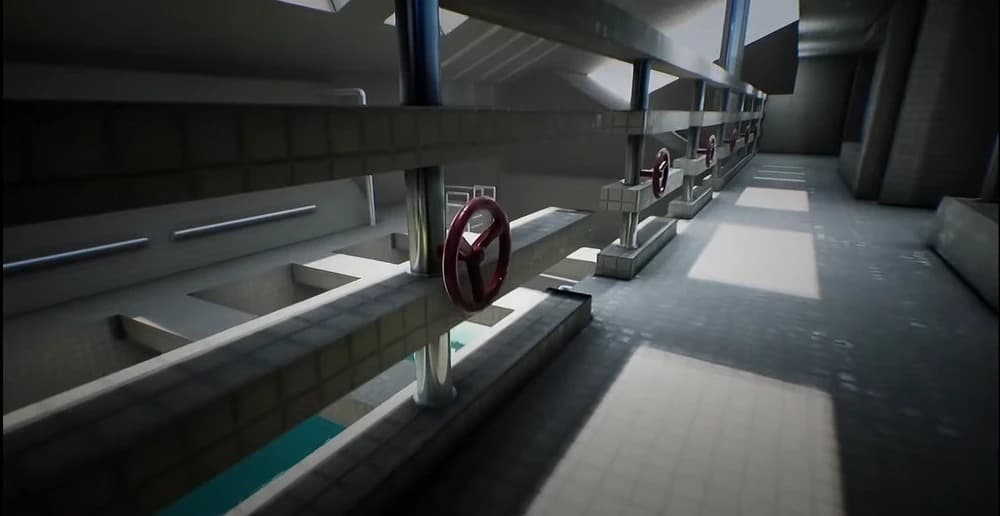
Keep exploring
Level Guide
Escape the Backrooms Level 37 Poolrooms walkthrough: manage Sanity, respect deep-water risks, and use landmarks to find the safe route out.
Read More →
Level Guide
Escape the Backrooms Level 188 Courtyard walkthrough: use the TV as the source of truth, manage the courtyard route, and react to the correct exit cue.
Read More →
Level Guide
Escape the Backrooms The End Library guide: work the library in confirmed passes, manage its puzzles, and progress without random searching.
Read More →Escape the Backrooms Level 37 2 Poolrooms Walkthrough is easiest when you treat it as a sequence of small, confirmable decisions instead of a race to the first exit you notice. This guide concentrates on the deeper poolroom route, visual orientation, and careful pacing. Your first goal is not to memorize every room. It is to establish a repeatable loop: find a clear landmark, identify the next required action, and leave yourself a route back if the situation changes.
The pressure in this area usually comes from assuming this pool area follows the first poolroom’s rules. Slow the run down for a few seconds whenever you enter a new section. Check the direction you arrived from, look for the clue that proves you are in the right place, and agree on the next destination before anyone drifts ahead. That simple habit saves more attempts than any risky shortcut.
Begin with a reconnaissance pass rather than a full search. Follow the most readable route through the opening space, noting doors, signs, unusual lighting, and objects that stand apart from the background. These details are more useful than an abstract map because they still work when the group gets separated or an encounter forces you to retreat.
Keep your movement purposeful. If an interaction does not clearly advance the route, leave it for a second pass. This prevents the team from carrying too many unfinished ideas at once. In solo play, say the plan to yourself before moving on. In co-op, name the landmark and the intended objective in one short callout. Everyone should be able to describe where to regroup without relying on a vague direction.
Once the opening route is clear, work through the objective one piece at a time. Confirm what must be collected, activated, avoided, or matched before you spend time searching for a final exit. If the level presents a puzzle, record the clue first and interact second. A wrong attempt can cost more time than a careful observation.
Use safe positions as real checkpoints. After completing a step, pause long enough to check inventory, stamina, light, and team position. The best route is not always the shortest line on paper; it is the line that lets you recover from a missed turn. When a hazard changes the pace, return to the last known landmark and rebuild the route from there instead of guessing.
As the run approaches its final objective, reduce unnecessary exploration. You should now know which route is productive, which rooms are optional, and which actions can wait until a later attempt. Reassess hazards after each transition instead of relying on memory. Keep the exit path in mind while completing the final interaction so you are not forced to solve the last part twice.
For groups, use roles without overcomplicating them: one player confirms the next objective, one watches the approach, and everyone calls out a change in danger. For solo players, use the same discipline by moving only after you can explain why the next room matters. This approach turns a tense section into a series of manageable choices.
Prioritize the first action that confirms the route: a landmark, required item, puzzle clue, or safe transition. Everything else becomes easier once that anchor is established.
No. Explore until you can prove which branch advances the objective, then return for optional discoveries only when the route is stable.
Regroup at the last landmark everyone recognizes. Rebuild the plan from that point rather than sending different players into separate guesses.
For another route with a different kind of pressure, continue with the next Escape the Backrooms guide.
Escape the Backrooms Level 37.2 is often discussed through settings tricks, but a reliable guide starts with the route that works without them. Identify the next platform or opening, make the required jump-crouch movement only when the landing is visible, and pause at a safe tile before chaining another move. Players who keep trying a missed jump from the same unstable position usually lose more time than players who return to the last solid floor and reset their angle.
Any F11, V-Sync, or frame-rate observation should be labelled as version-sensitive. It can explain why a recording looks different, but it should never replace a normal direction, a safe landing, or a recovery method. In co-op, let one player test a movement sequence while others wait on a stable surface; this preserves a clear reference point if the attempt fails. Say which pool edge or wall is the reset point before the first jump.
The original Poolrooms walkthrough remains the better reference for water hazards and Sanity recovery. Once the movement section is complete, the Courtyard guide prepares the group for a different kind of validation: TV clues and elevator sorting rather than platform timing.